Juicy Grilled Pork Chops Recipe
Introduction
This JUICY Pork Chop Recipe is fast, easy and will impress the taste buds of your family and guests! If you’ve given up on making Pork Chops because they are dry or lack flavor, pay close attention to this recipe, it will change your Pork Chop game forever! We will also be sharing an incredible homemade BBQ Sauce recipe with you that may permanently replace all your store-bought bottles lol. Get ready… Mike from “Everyday BBQ” will show you how to bring this recipe to your table step-by-step! This cook will be done on the Slow 'N Sear® Kettle. See below for everything you’ll need and full directions for this recipe!
Ingredients
- Pork Chops that are 1 ½ - 2 inches thick (I used a Rib cut Chop, use your favorite cut)
- Coarse Kosher Salt (for dry salt brine)
- Olive Oil (for rub binder)
- A 50/50 mix of our Rocky’s Rub and our Not Just For Beef Rub

Homemade BBQ Sauce
Ingredients:
- 2 cups of your favorite brand Ketchup
- ¼ cup Apple Cider Vinegar
- 1/3 cup Pineapple Juice
- 1/3 cup Worcestershire Sauce
- ¼ cup Brown Sugar
- 2 tablespoons of Honey
- 1 tablespoon coarse dried Garlic
- 1 tablespoon freshly cracked Black Pepper
Directions: Place all above listed ingredients into a small pot, heat on low-med heat to achieve a gentle simmer stirring frequently. It will take roughly 15-25 minutes to reach a BBQ sauce type consistency. Remove from heat and allow to cool fully. Transfer to a container or jar and place in the refrigerator (make this the day before, it will really elevate the flavors)

Prep
Start by washing your hands before performing any food prep.
Unpackage Pork Chops. If you desire to trim any excess hanging fat, you may do so. Place Chops onto a tray/rack as shown in the video, I used our Drip ‘N Griddle and Roasting Rack for this. This is a perfect setup for the dry salt brine, but any rack/tray will do.

Next, we will be performing a dry salt brine on the Chops. Apply ½ teaspoon per pound of meat to the entire exterior (as shown in video). Be sure to cover the entire exterior and sides. Now, place the Chop tray uncovered in the fridge for 24 hours. You will see the results in the video of the deep color change as the salt absorbed overnight.
Before the cook, apply a small amount of olive oil to the outside of the Chops and generously apply a 50/50 mixture of the Rocky’s Rub and the Not Just For Beef Rub (I mix them in a bowl prior to applying). Allow the Chops to rest and absorb the rubs while you setup the Slow 'N Sear Kettle for the cook.

Cook
Place 12-15 unlit coals in one side of the Slow 'N Sear and light with a Firestarter. Allow them to begin catching and lighting for a few minutes. Once they are lit, place the lid on the cooker and open the vents wide open top and the “Smoke Hole” on the bottom, be sure to close your main bottom vent fully as we will not be using it. I chose to use the “smoke hole” as my bottom vent for this cook as it really helps me dial in temperatures on low in slow cooks. Once you get to within about 75 or 100°F of our target temperature of 250°F, begin choking back the vents until you get the temperature dialed in. Now you can go ahead and fill the slow and sear the rest of the way with unlit coals and add a chunk of wood if you like. hickory is a great choice for pork.
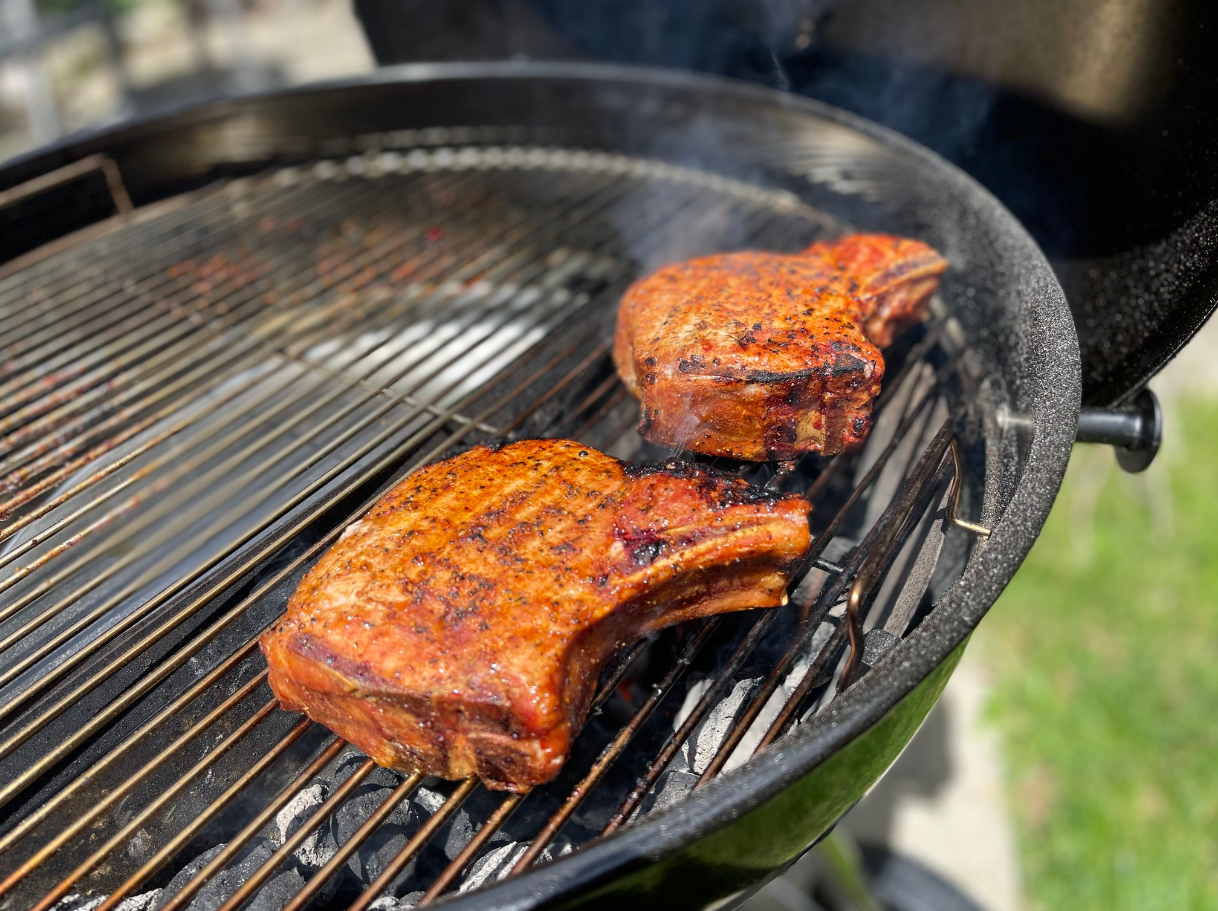
Place the Chops on the indirect side of the cooker and monitor temperatures with a remote thermometer (such as the SnS-500). 
Check in on the Chops once they hit around 90°F internal temperature, flip them at this time to promote even cooking. Continue cooking until the Chops hit an internal temperature of right at or close to130°F internal temperature.
Next, stir up the coals in the Slow 'N Sear to raise the temperature for searing. Sear the Chops for approximately 30-45 seconds on each side and then move them back to the indirect side of the cooker. 
Check temperatures with an instant read thermometer and make sure you are at least at 135-138°F. This should allow the Chops to finish at a final finishing temperature of 140-145°F internal. If they are lower temp, just leave them on the indirect side to finish but watch them very closely and be sure to pull them at the correct temperatures.
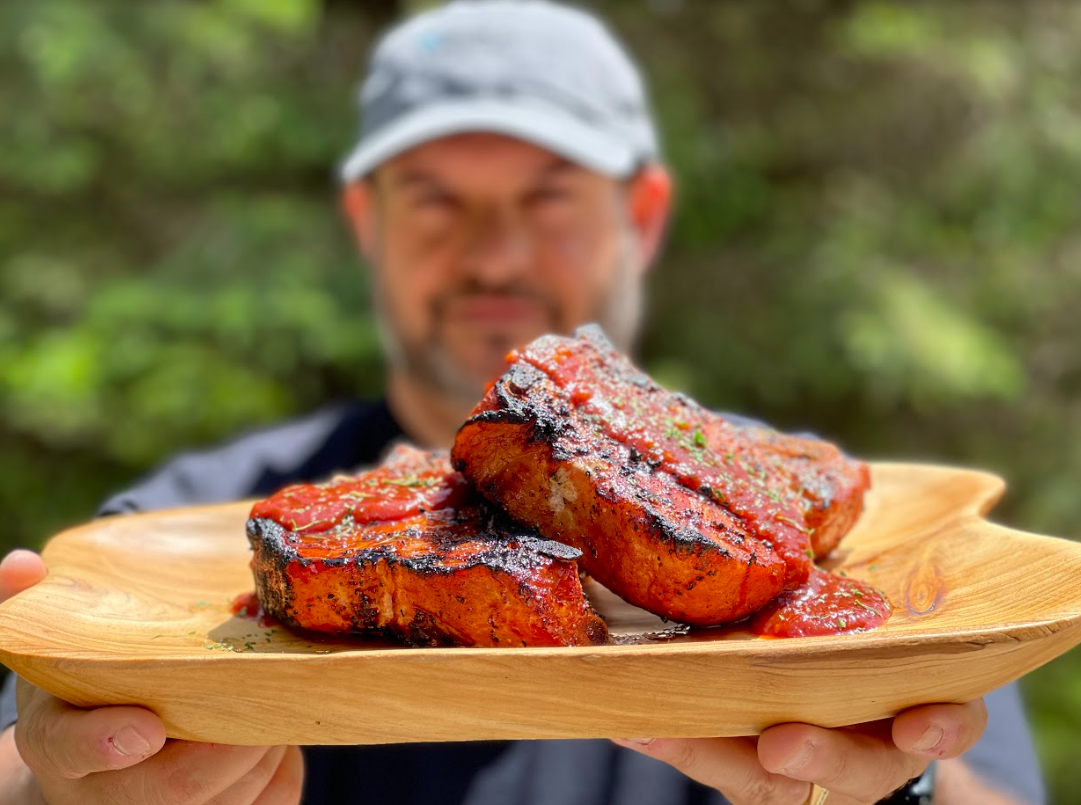
Allow them to rest for just a few minutes, top with your homemade BBQ sauce, serve, and enjoy!
